Do not use the gasket (the rubber ring around the rim of the lid of your pressure cooker)
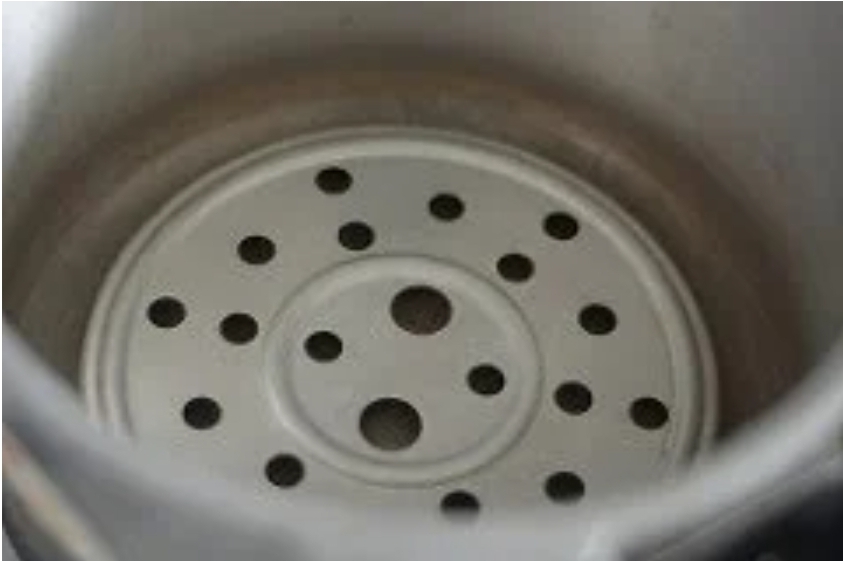
Always place a plate or stand at the bottom of the pressure cooker to make sure heat is spread evenly while cooking
Keep flame to a simmer so that the cooker doesn’t heat up too much
Always be super careful when using your pressure cooker to make a cake.
This is obviously not the intended purpose of a cooker and it can result in injury or worse if you don’t follow the instructions carefully.
Author: Beyond Eating
Prep Time: 15 mins
Cook Time: 45 mins
Total Time: 1 hour
Yield: 6” Cake 1x
Category: Cake
Cuisine: International
Description
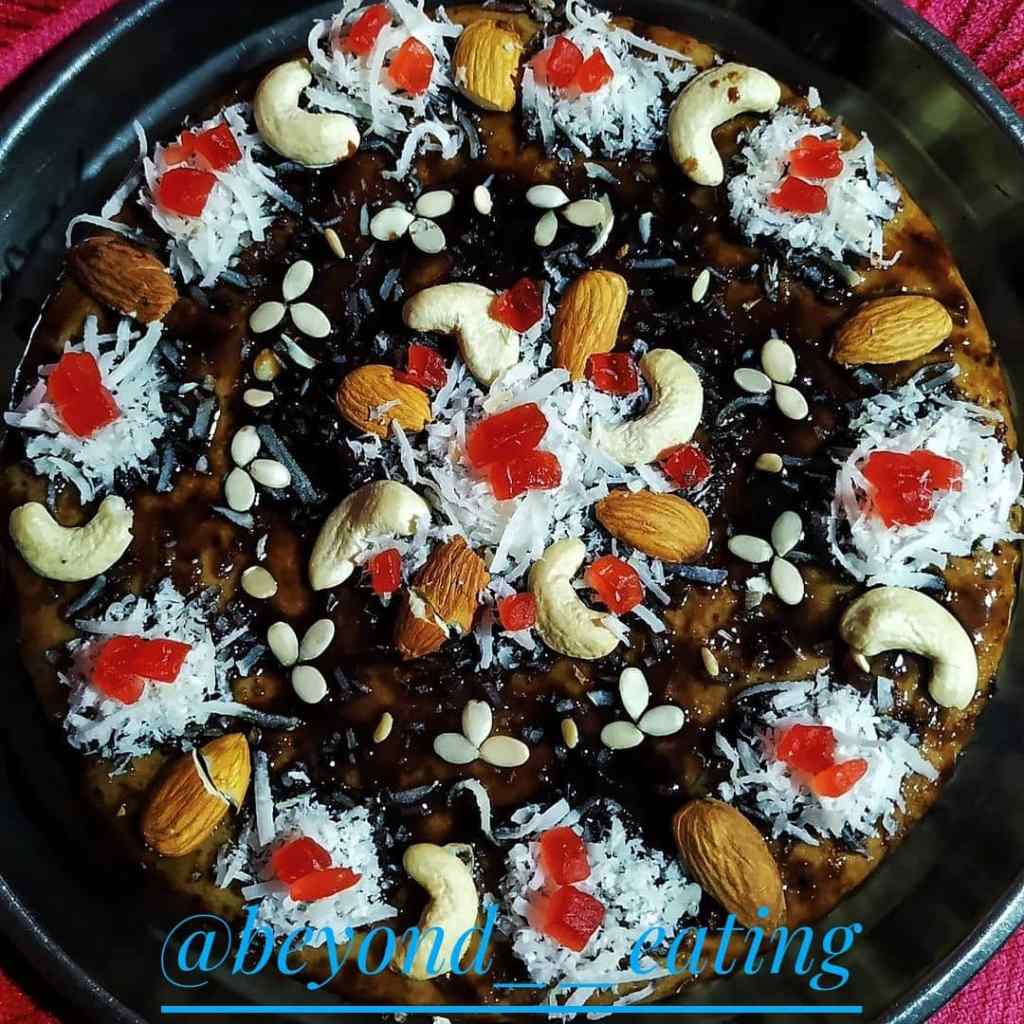
Make a delicious and spongy chocolate cake in a pressure cooker. This cake recipe needs to oven or microwave to prepare.
Ingredients
SCALE 1x ✔️ 2x 3x
3/4 cup of plain flour
3/4 tsp of baking soda (soda bi carb)
1/4 tsp of salt
3 tbsp of cocoa powder
3 tbsp of butter, softened at room temperature
1/2 cup of sugar
1 egg
1/4 cup of water
1/4 cup of milk
1/2 tsp of vinegar or lemon juice
1/2 tsp of vanilla extract
Instructions
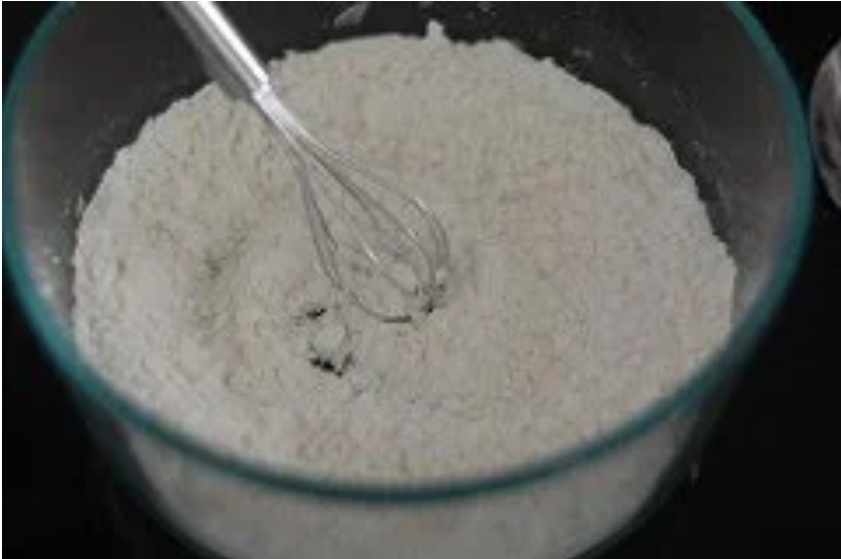
1:- In a bowl, whisk the flour, salt and baking soda together until well combined
2 :- Set aside until needed
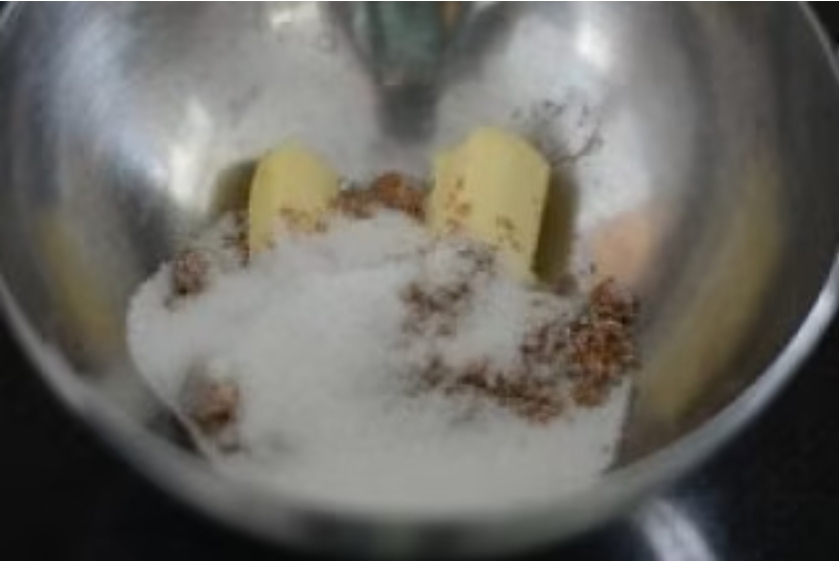
3 :- In another bowl, cream the butter and sugar with a whisk until it comes together. You don’t need an electric beater, just do this step by hand until the butter and sugar are well incorporated
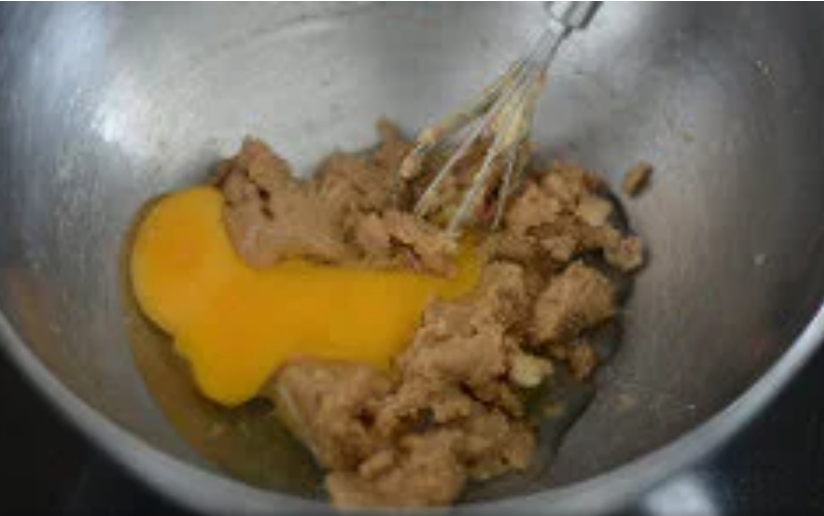
4 :- Add the egg to this and beat again well until the mixture is a bit fluffy
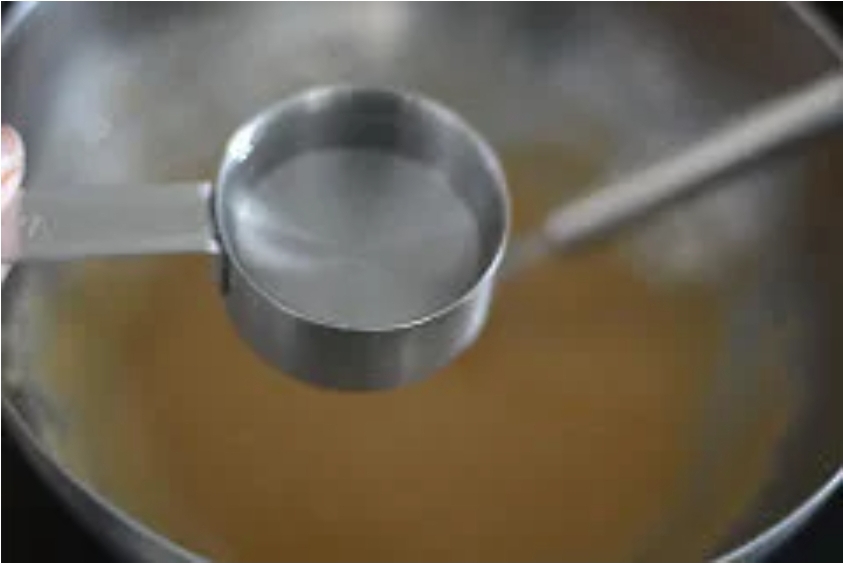
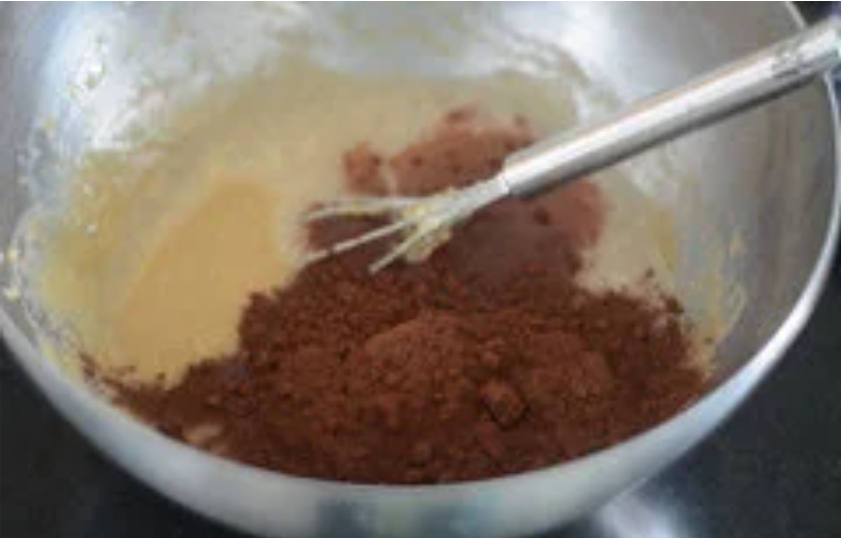
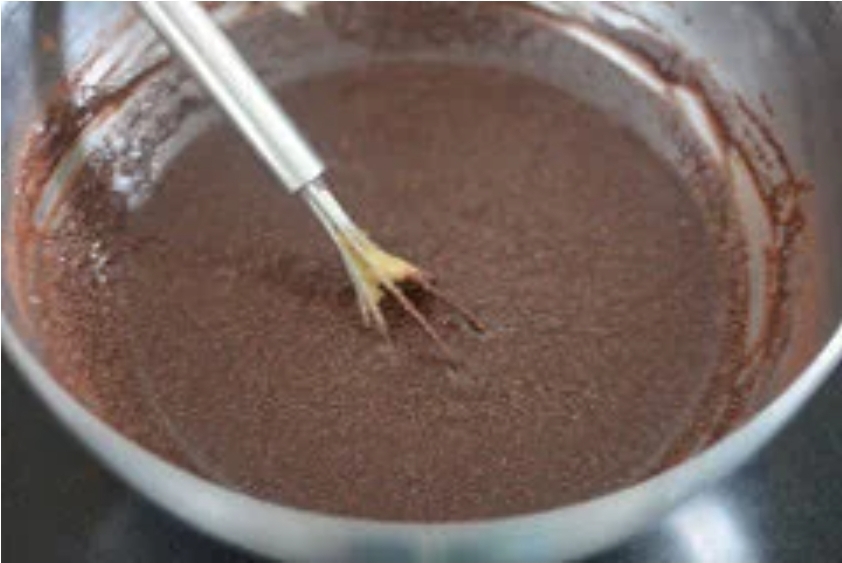
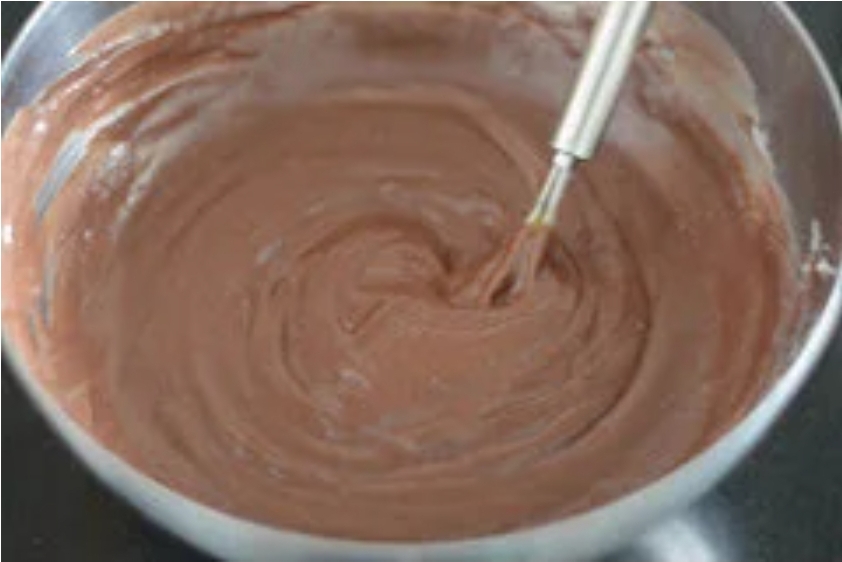
5 :- Now add water and cocoa to this and mix well until the cocoa powder has fully blended in
6 :- Add the vinegar or lemon juice and the vanilla, mix again
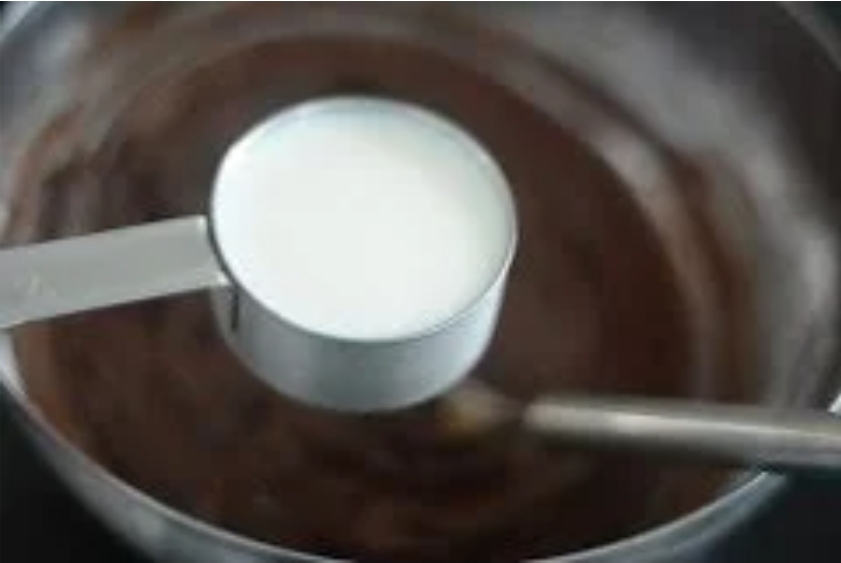
7 :- Add milk and mix gently again
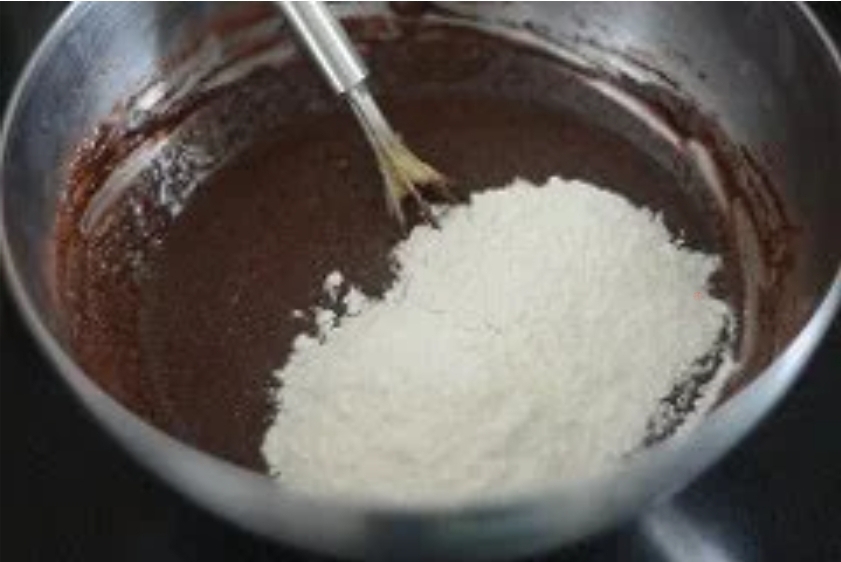
8 :- Now add the flour mixture in two additions, folding gently after each addition. Do not overmix at this stage, just mix until you don’t see any traces of flour remaining and the batter is lump free (small lumps should be okay, they will disappear on baking)
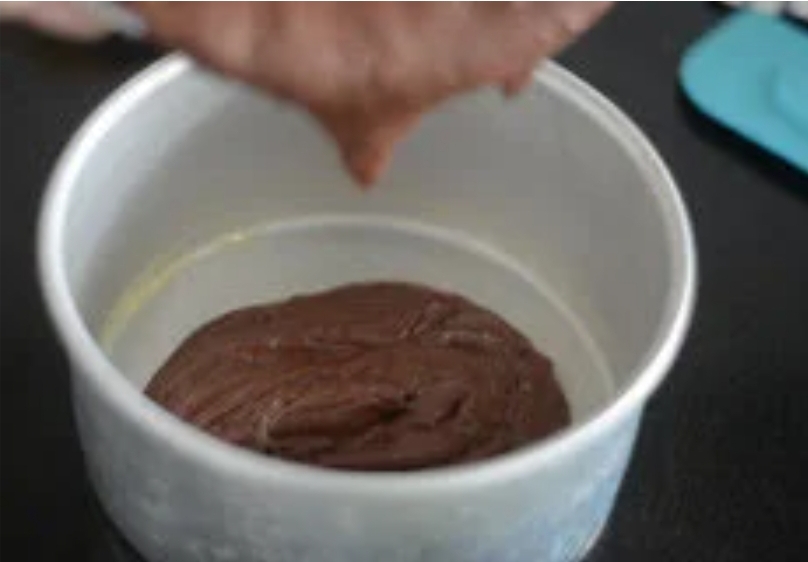
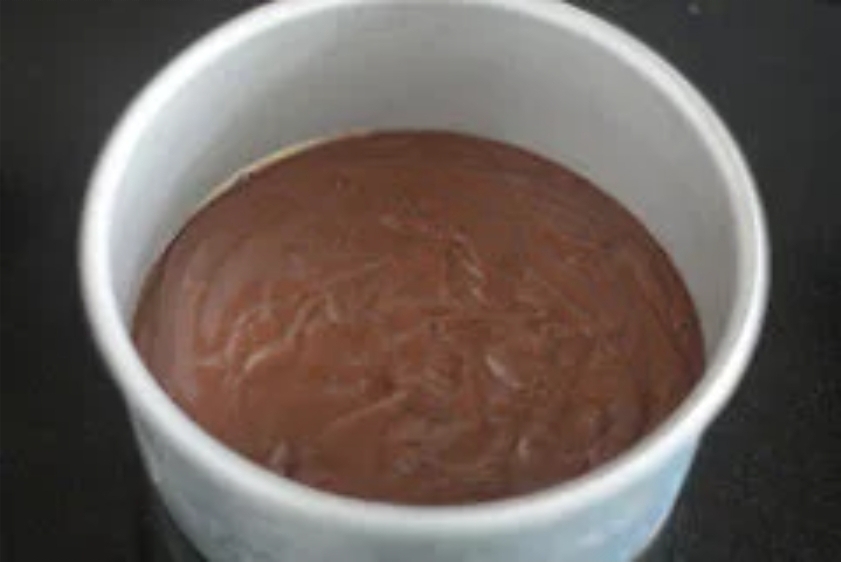
9 :- Grease a small 6″ cake pan with butter and pour the batter in
10 :- Tap the cake pan firmly on the kitchen counter a couple of times to remove any air bubbles in the batter
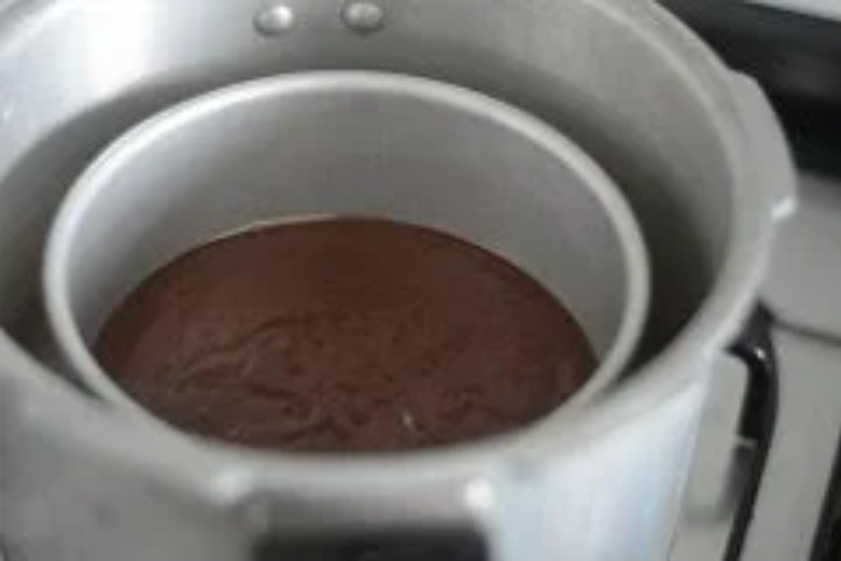
11 :- Preheat the pressure cooker by placing the plate or tray at the bottom of the pressure pan and closing the lid (no water needed, no gasket needed on the lid)
12 :- Heat on medium flame for about 2 minutes until the cooker is hot
13 :- Gently lower the cake pan with a pot holder into the pressure pan
14 :- Close the lid and keep the flame very low (simmer)
15 :- Cook for about 45-50 minutes until the a toothpick inserted into the cake comes out clean. The cake will also leave the sides of the pan, which is a good indication that it’s cooked
16 :- Remove from inside the cooker and cool for 10 minutes in the cake pan
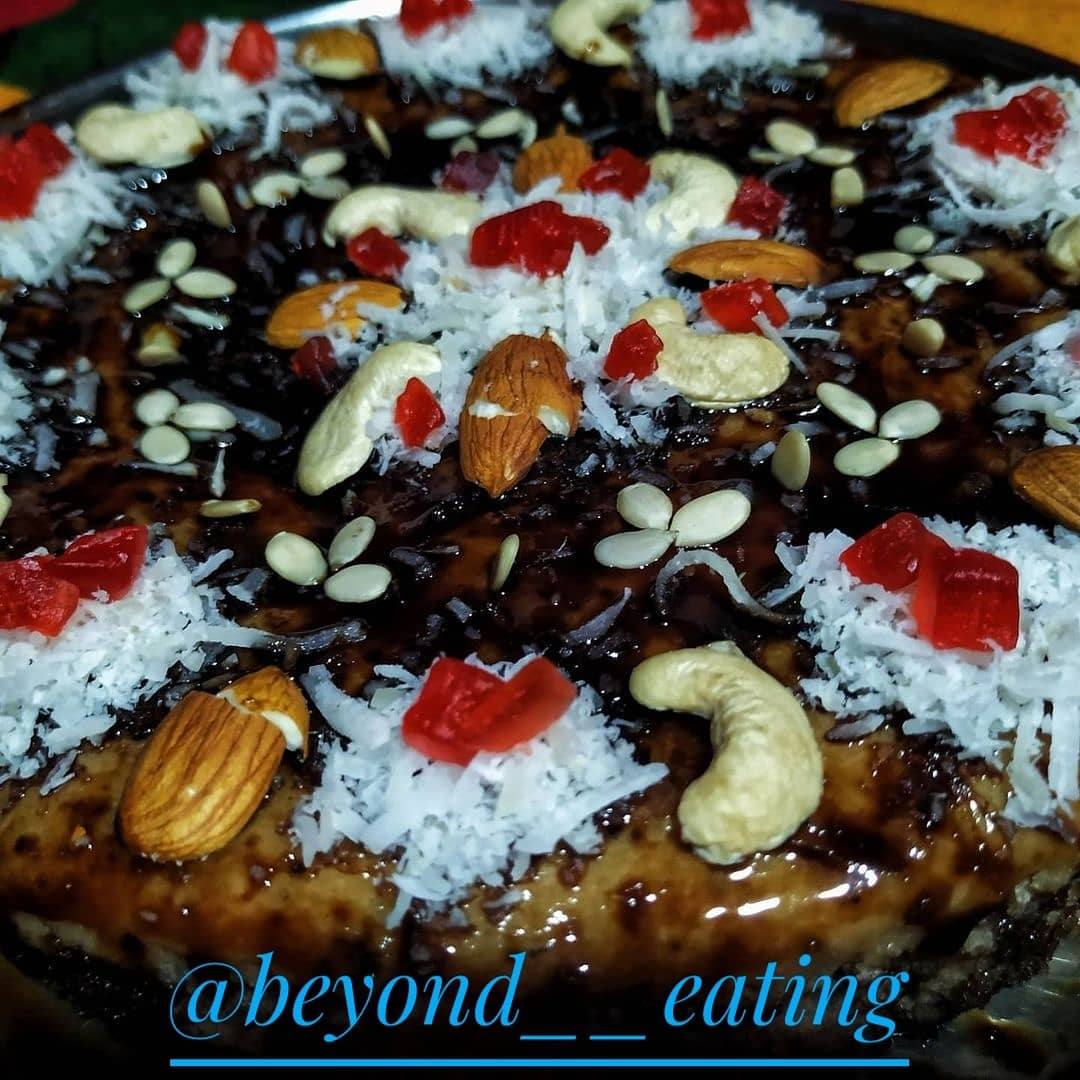
17 :- Then, gently invert onto a cooling rack or plate and cool the cake completely before cutting and serving
18 :- You can also use this cake as a base and frost it, make multiple layers, etc
Step by Step Pictures for Making a Cooker Cake (No-Oven Cake)
In a bowl, whisk the flour, salt and baking soda together until well combined
Place the butter and sugars in another dry bowlBeat well with a whisk until it comes together. You can use an electric beater but it’s not necessary to use oneAdd the eggBeat well again until the mixture turns a bit fluffyNow add waterand cocoa powderBeat well making sure there are no lumps. You can sift the chocolate if needed, this makes the mixing a lot easierNext, add the milk and beat again until well combined. Follow with the vinegar (or lemon juice) and vanilla. Beat again.Now add half the flour mixture, fold until you don’t see any more streaks of flour, add the remaining flour, and fold again. Do not over mix at this stage.The batter is now readyPour into a buttered 6″ cake panTap the pan firmly on the kitchen counter to remove any air bubbles in the batter.Prepare the pressure cooker by placing a plate or pot stand at the bottom of the pressure pan. Close the lid and heat on medium flame for 2 minutes until the pressure cooker is nicely heated up.Gently insert the cake pan and close the lid againCook on very low flame for about 45-50 minutes or until a toothpick inserted into the cake comes out with no wet crumbsDecorate the cake as your wish and choice
Invert onto a plate or rack and cool completely before cutting and serving. You can also frost the cake before cutting.
Making a cake without an oven in a pressure cookeris really a simple procedure and if you follow the steps closely, I guarantee a soft and spongy chocolate cake. If you try this recipe, please leave a comment to let me know. You can easily double the recipe for a larger cake, just use an 8″ or 9″ cake pan if that’s the case and make sure your pressure cooker is large enough to hold it. You can also bake this cake in an oven, check if it’s done in about 30-40 minutes since baking times will vary.
कुलचा बनाने में 20 मिनट का समय लगता है। इसे बनाने की तैयारी करने में 5 मिनट का समय लगता है।
कुलचे का स्वादिष्ट, नरम और मुलायम स्वाद सभी को पसंद होता है। आप जब चाहे इसे आसानी से अपने घर पर बनाकर सभी को खिला सकते है। कुलचे सभी के मनपसंद होते है।
सामग्री
1/2 कप मैदा
1 कप पानी
1/2 टी स्पून बेकिंग पाउडर
1/2 टी स्पून चीनी
1/2 टी स्पून दही
1 टी स्पून बटर
2 टी स्पून हरा धनिया
2 टी स्पून तेल
नमक स्वादानुसार
बनाने की विधि – How to make कुलचा (Kulcha Recipe)
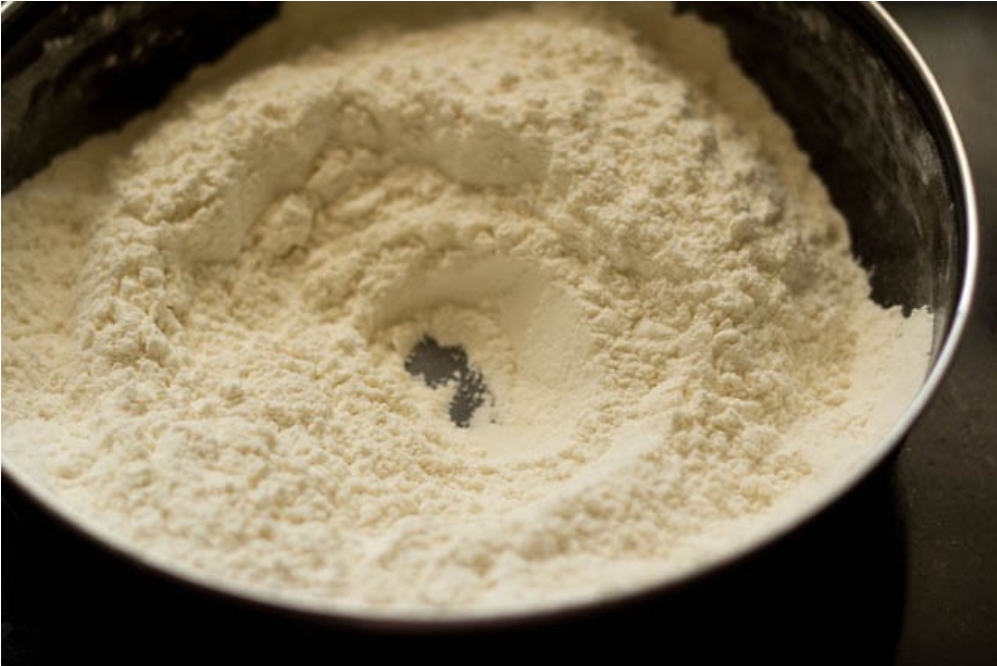
1:- कुलचा बनाने के लिए सबसे पहले मैदा को एक बर्तन में ले और छलनी की मदद से अच्छे से छान ले। अब इसी बर्तन में मैदा के साथ बेकिंग पाउडर और नमक डालकर अच्छे से मिक्स कर दे।
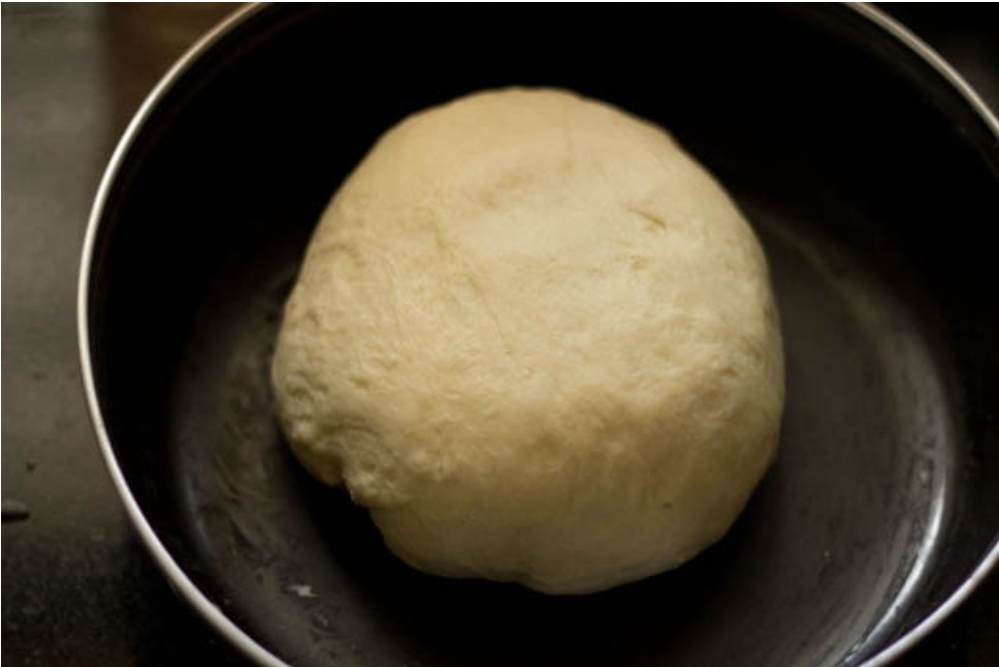
2:- अब मैदा, बेकिंग पाउडर और नमक में तेल, दही और चीनी डालकर मिलाए। अब हल्के गुनगुने पानी की मदद से मैदा को अच्छे से गूथ ले। ध्यान रखे मैदा को थोड़ा नरम गुथे तभी आपके कुलचे अच्छे बनेंगे। गुथी हुई मैदा को कुछ देर के लिए ढक कर रख दे।
3:-इतना करने के बाद गुथे हुए मैदा को ले हाथ से अच्छे से मसल ले। अब उसमे से एक लोई तोड़े हथेली की मदद से उसे गोल कर ले। अब हाथ से दबाकर उसका आकार थोड़ा सा बड़ा कर ले।
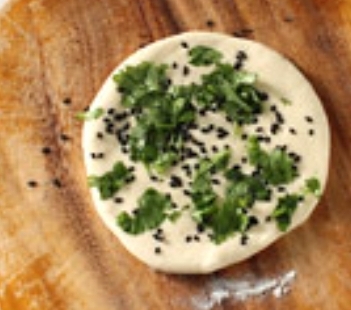
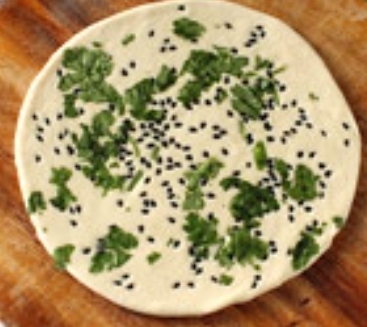
4:- इसपर थोड़ा सा धनिया रखे और चकले और बेलन की मदद से इसे अपने अनुसार एक आकार दे। गैस पर तवा गरम करने के लिए रख दे। तवा गरम होने पर उसपर बना हुआ कुलचा डाले कुछ देर बाद कुलचे पर बुलबुले दिखने लगेंगे। तवे को गैस की तरफ उल्टा करे और दोनों तरफ से अपने कुलचे को सिकने तक सेके।
सभी सामग्री से इसी तरह कुलचे बना ले। कुछ ही देर में आपके स्वादिष्ट कुलचे बनकर तैयार है इन्हे प्लेट में निकाले ऊपर से बटर लगाए और सभी को गरम गरम कुलचे सर्वे करे।
Note:- शुरूवात कर 3 कुल्चो में धनिया पत्ता डालना भूल गया था
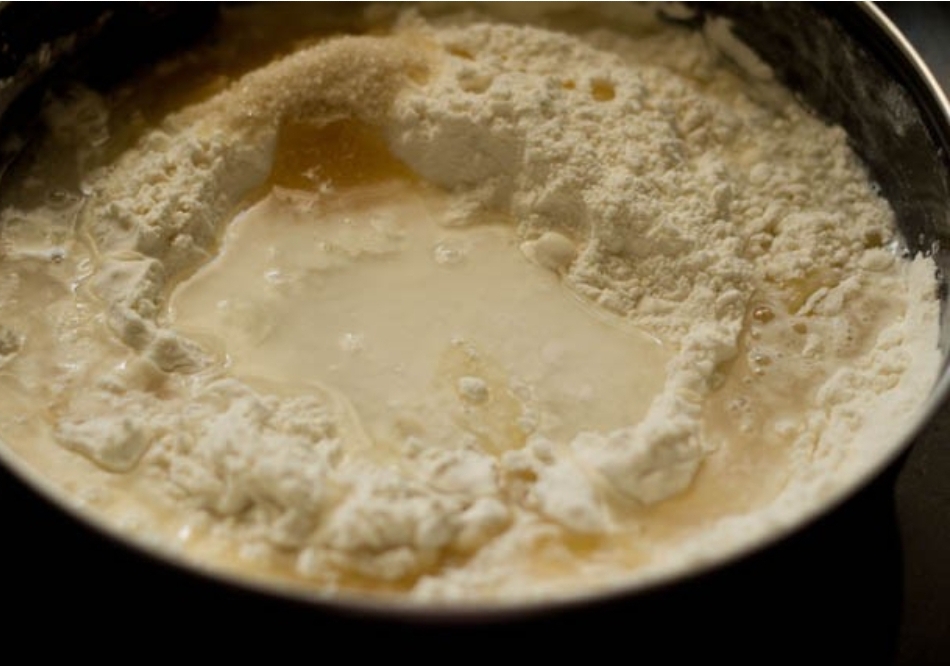
1. Mix the maida or all-purpose flour, salt, sugar, baking powder and baking soda in a bowl. Make a well in the center.🐣
2. Add the curd, oil and water.,🐣
3. begin to mix the flour with the liquids first and then start to knead.🐣
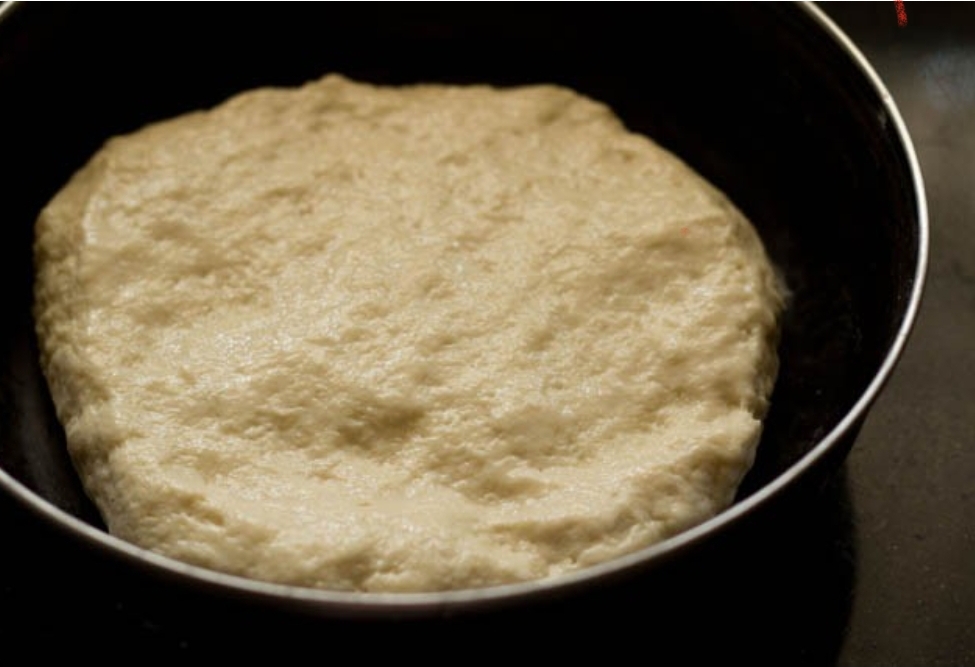
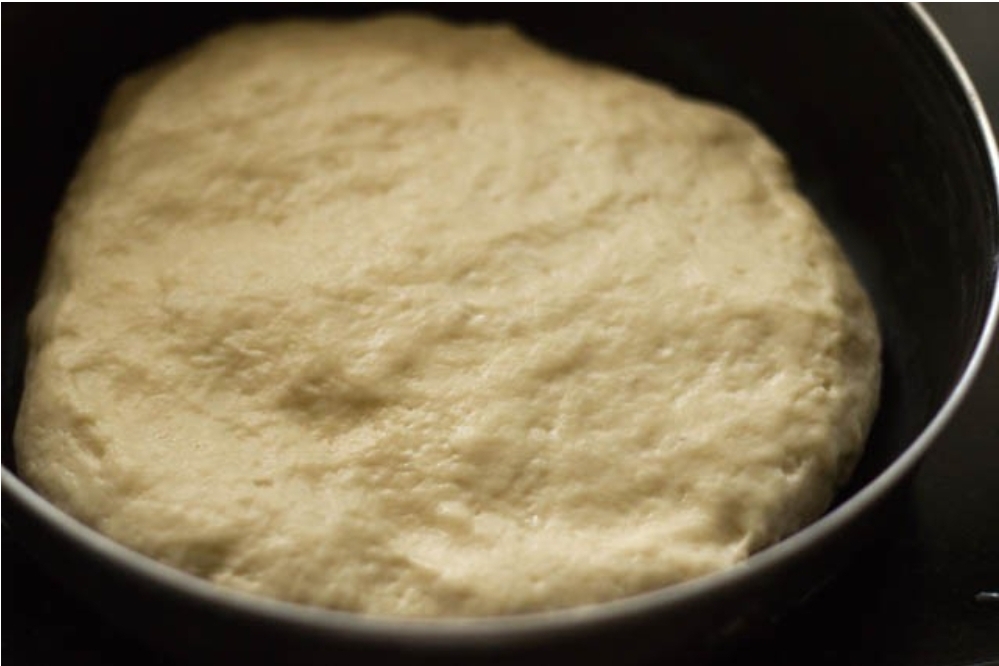
4. make a smooth and soft dough.🐣
5. in the same bowl or pan, cover the dough with a wet kitchen napkin. You can also lightly brush some water on the dough and cover the pan with a lid.🐣
6. Let the dough leaven for 2 hours.🐣
7. Lightly knead the leavened dough again🐣
◆Making kulcha◆
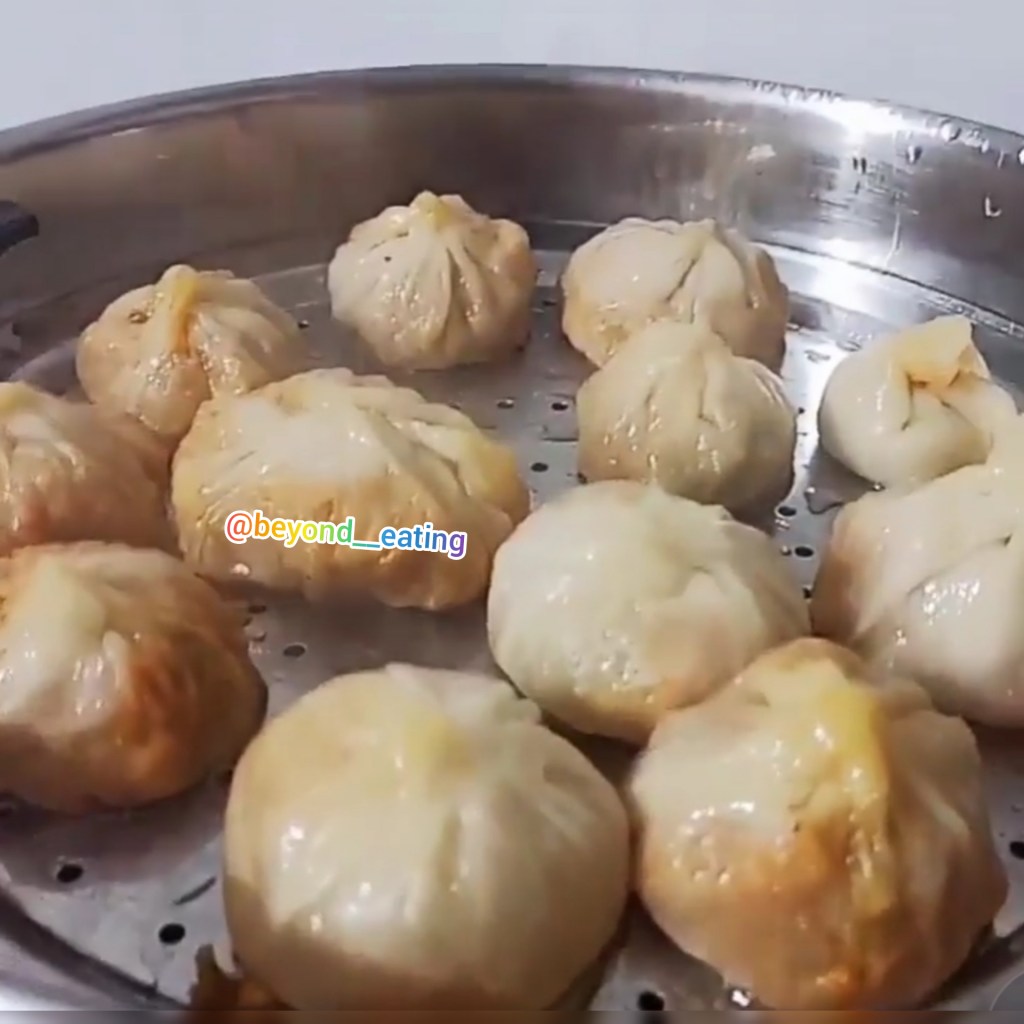
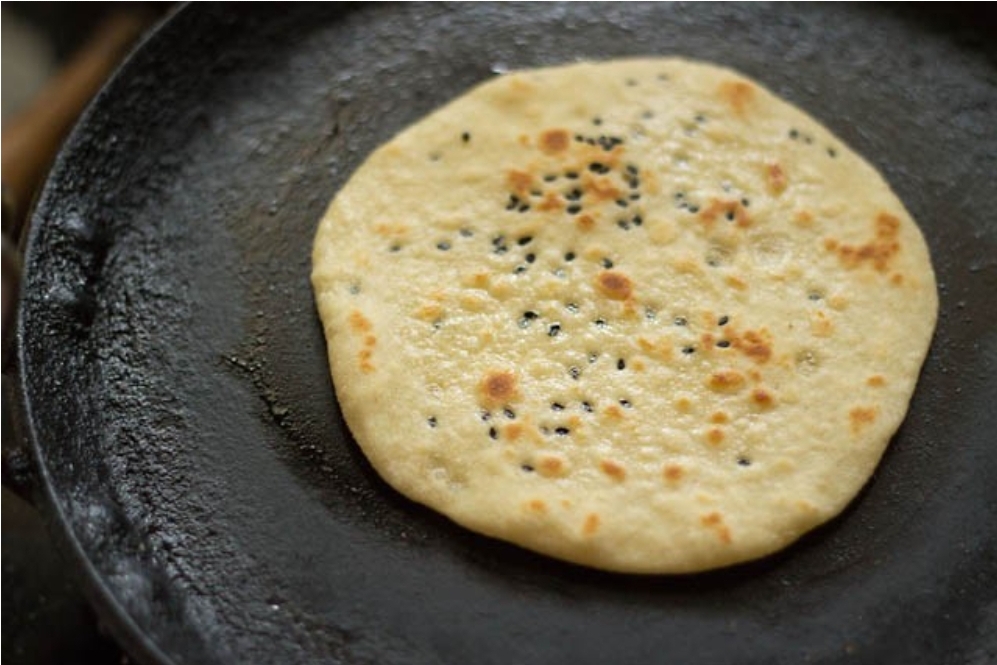
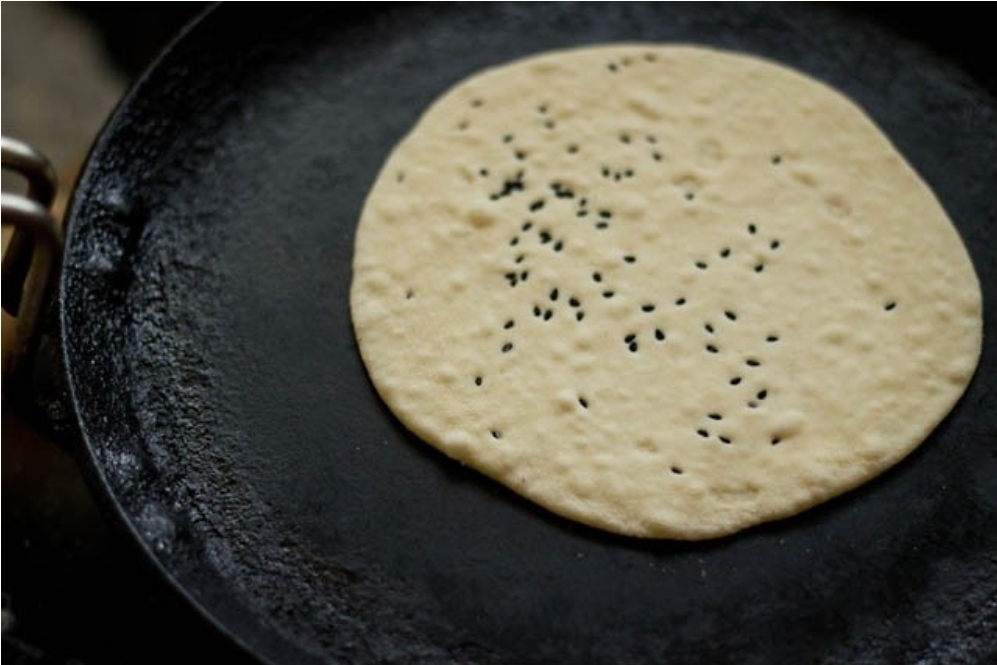
8. Make small balls of the dough. Sprinkle some nigella seeds on the ball. With the rolling pin flatten the dough and roll each into a small-sized kulcha on a lightly dusted rolling board.🐣
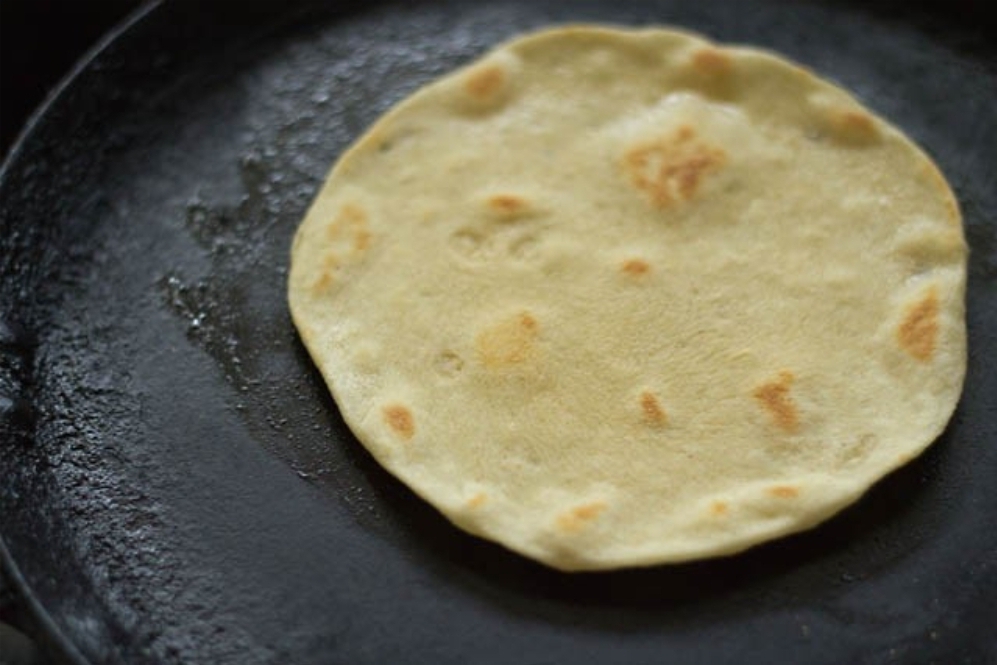
9. heat a griddle or a tava. The tava has to be very hot. Place the kulcha on the tava.,🐣
10. Cook one side partly till it is ¼ cooked.🐣
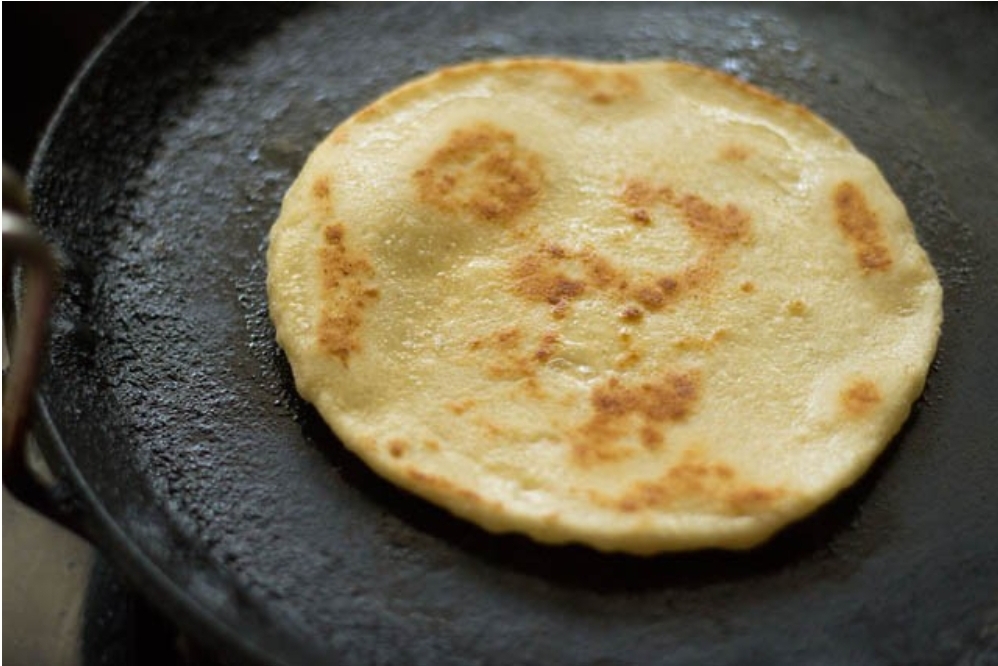
11. Flip and cook the other side till it is ½ cooked. Apply ghee or oil on both sides of kulcha whilst cooking.🐣
12. Cook them till it gets golden spots and is evenly cooked. Make all kulchas this way.🐣
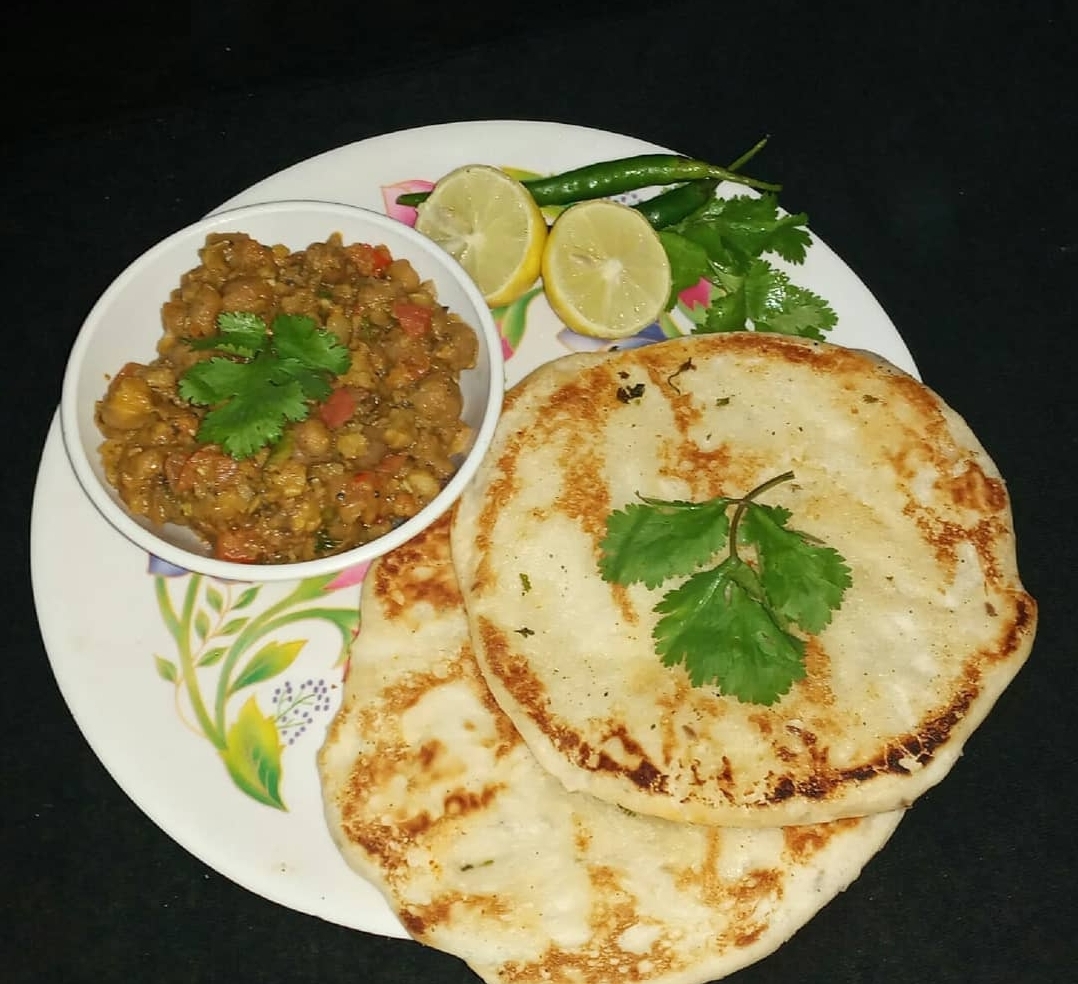
👉Serve the kulcha hot or warm with chickpea curry or chole masala. They can also be stacked in a roti basket and then served warm.🐣