This is one of my favorite Mushroom recipes. The juicy mushrooms along with the sweetness of peas in spicy, tangy and creamy onion tomato gravy makes it so delicious.
This Indian curry goes well with lachha paratha, tandoori roti, tawa roti or naan. I even like to pair it with some steamed rice and onion salad.
More Sabzi Recipes from my kitchen –
This Recipe of Matar Mushroom Masala is –
1. Prepared in Onion-Tomato based gravy
2. Vegan and gluten-free
3. An easy Indian Curry recipe
4. Made with easy pantry staples
5. Restaurant Style
6. Spicy and Tangy
INGREDIENTS
4 Tbsp Oil
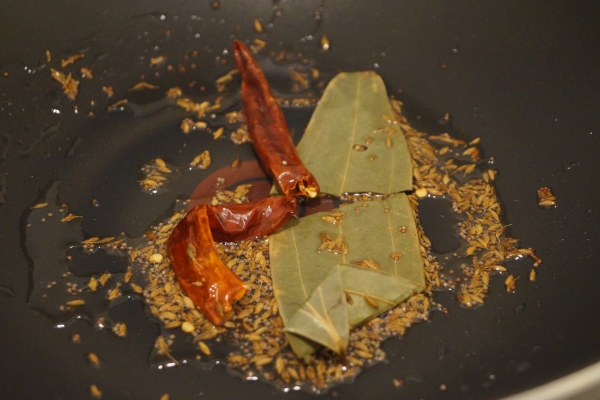
Whole Spices (Bay Leaf, Cloves, Cardamom, Cinnamon)
2 Tbsp Ginger, Garlic, Coriander & Green Chilli (Coarsely Grounded)
1/2 Cup Onion Puree
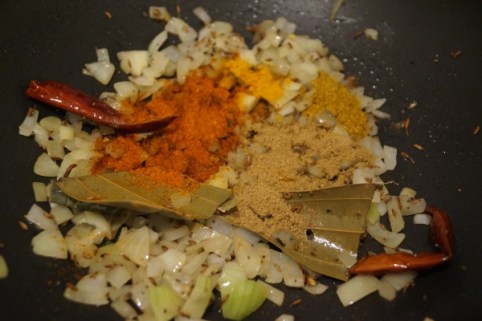
1/4th Tsp Turmeric Powder
1 Tsp Red Chilli Powder
2 Tsp Coriander Powder
1/2 Tsp Kashmiri Red Chilli Powder
1/2 Tsp Kasuri Methi
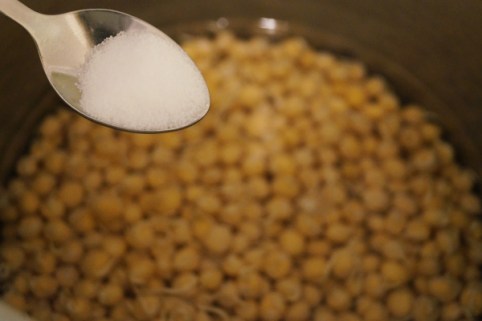
Salt to taste
1 Cup Tomato Puree
2 Tbsp Roasted Besan
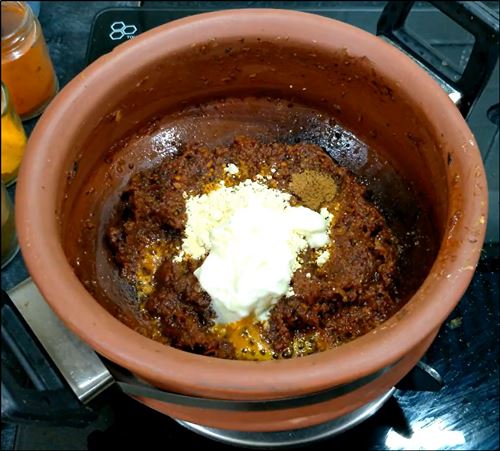
2 Tbsp Malai (Fresh Cream)
1/4th Tsp Garam Masala Powder
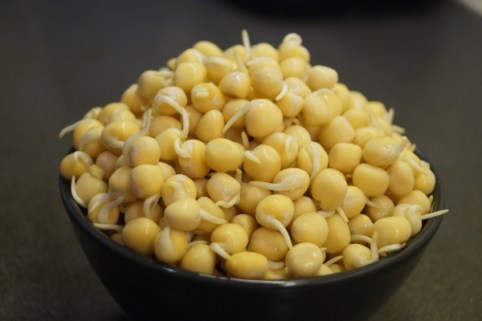
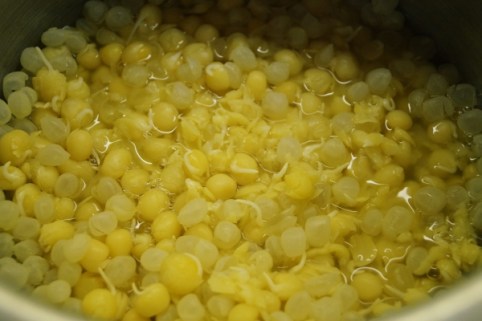
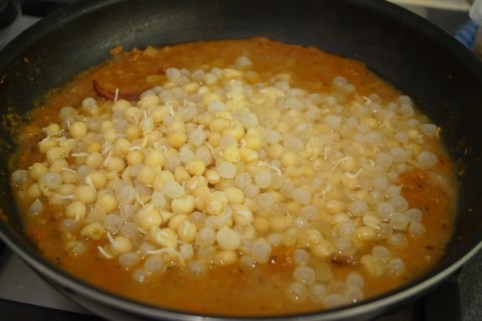
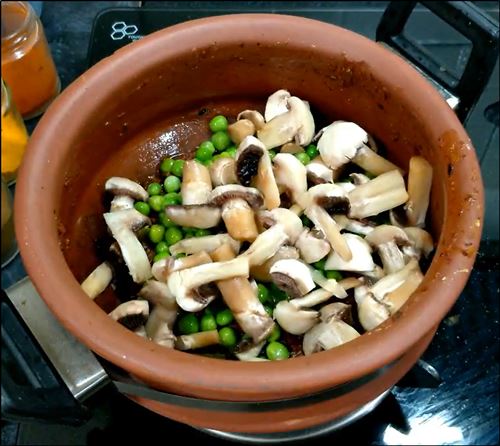
1/2 Cup Boiled or Frozen Peas
200 gms Mushroom
How to prepare for Matar Mushroom Recipe –
Clean mushrooms well. Use them while they are still fresh. Thaw the peas if using frozen and peel if using fresh.

Make onion and tomato puree separately. Also make a coarse paste of coriander, chilli, ginger and garlic.
How to clean mushrooms?
Transfer the mushrooms in a bowl, sprinkle whole wheat flour or salt generously. Taking one mushroom at a time, scrub all over nicely to remove the dirt. Wash under running water.
If required peel the skin and trim the edge. Mushrooms are now ready to use.
How to make Mushroom Matar Recipe at Home –
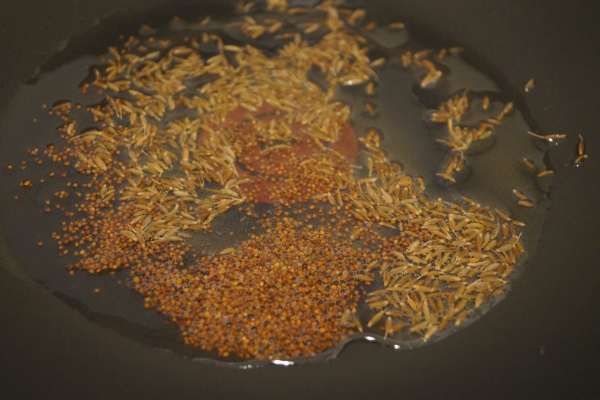
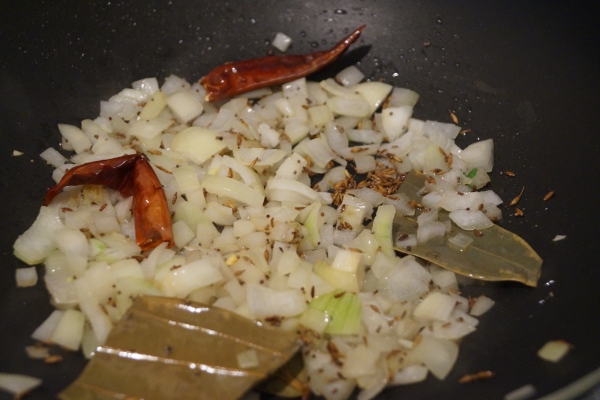
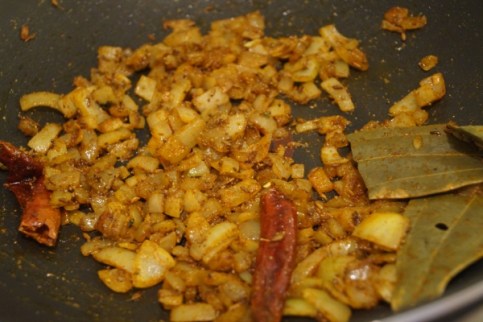
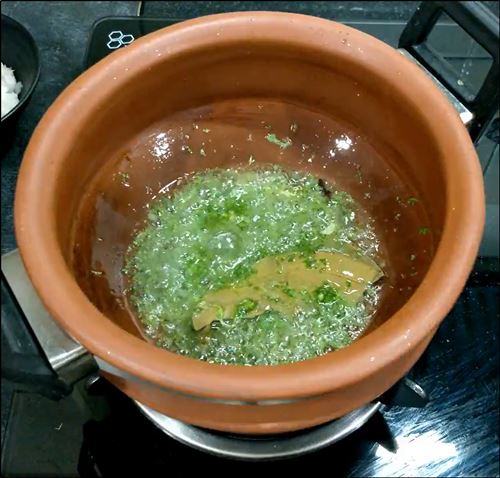
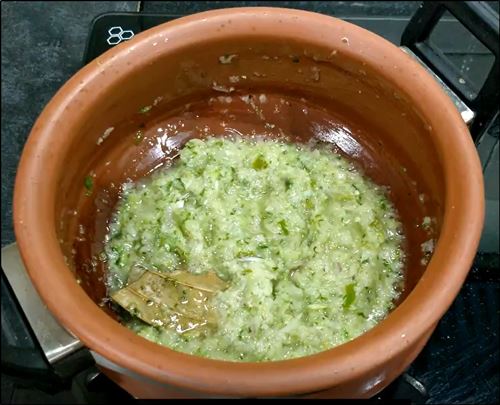
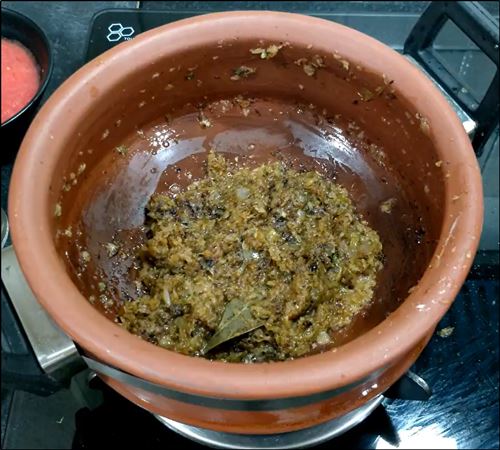
Heat oil, add whole spices, next add ginger, garlic, coriander and chilli paste. Cook and then add finely chopped onion. Cook till golden brown.
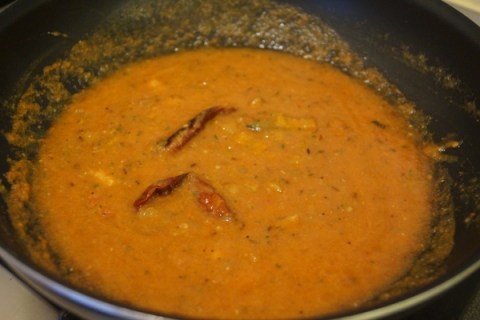
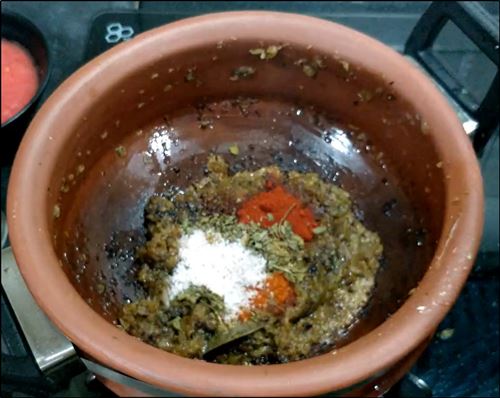
Add powdered spices to flavour. Mix everything well. Now add tomato puree and let it cook till oil starts to separate.
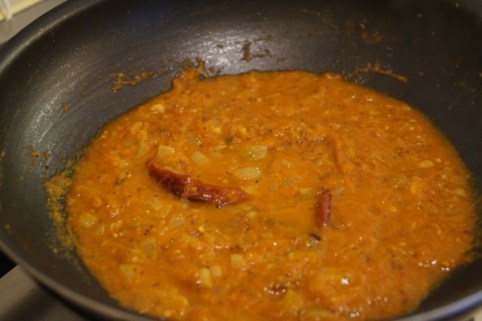
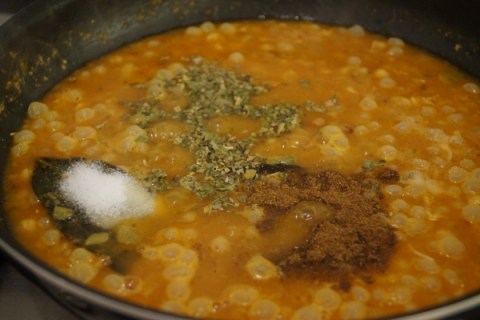
Now add roasted besan and cream, garam masala powder and give it a nice mix.
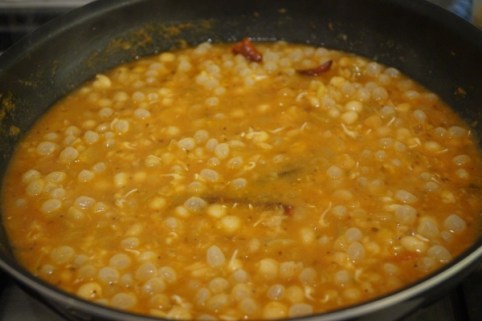
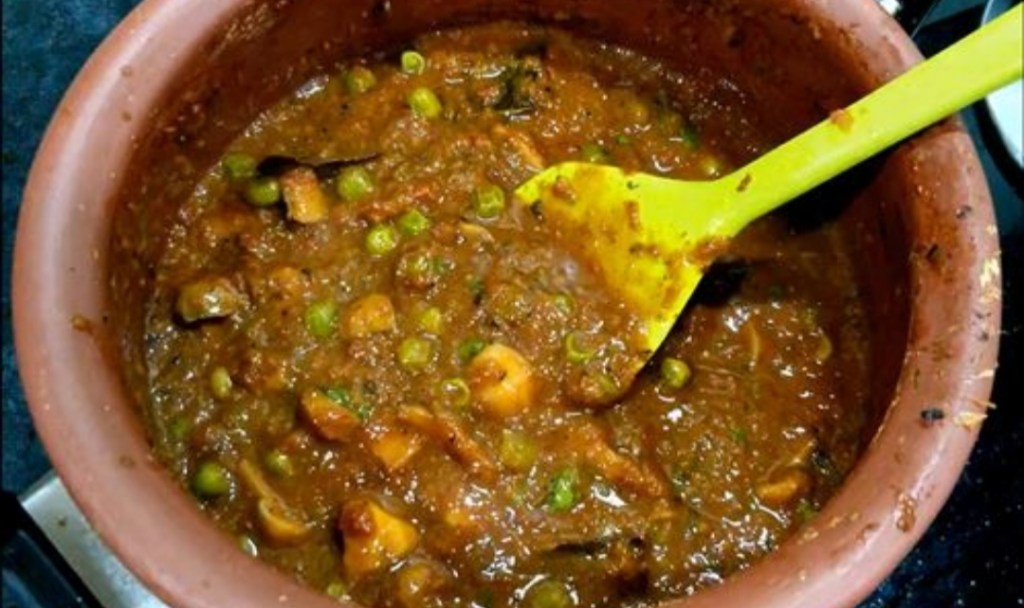
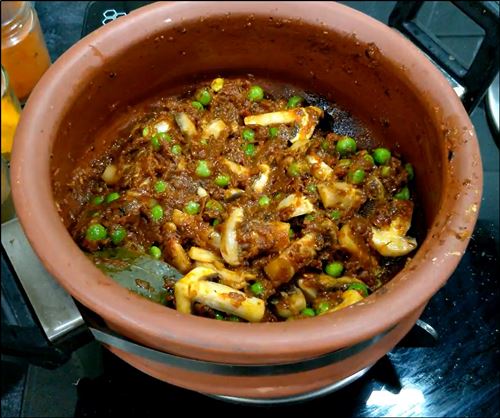
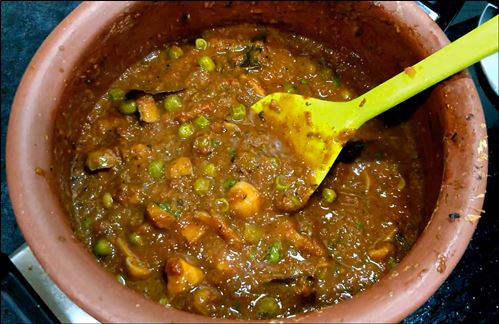
Add in mushrooms and peas, also add water. Mix well and let it cook.
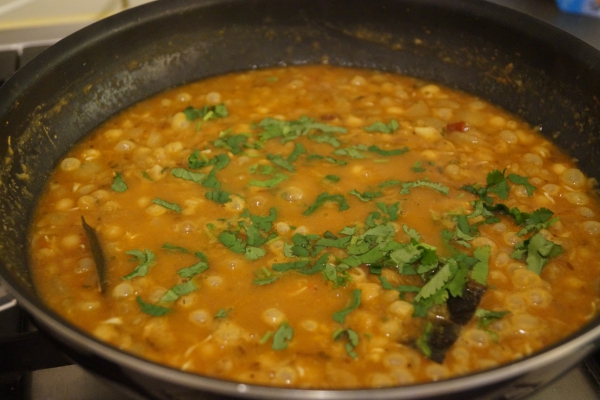
Finish with coriander leaves.
Things to keep in mind while making Mutter Kumbh Recipe –
1. Make sure to clean mushrooms well.
2. Do not soak mushrooms in water.
3. If using fresh peas, boil them before adding.
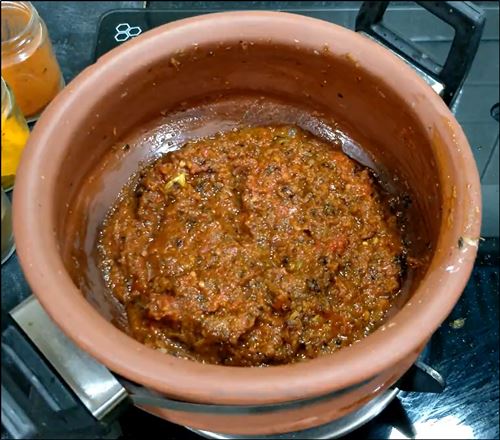
4. The gravy should be well cooked, it should start leaving oil from the sides and turn darker red in colour.
5. Roasted besan gives a nice binding to the gravy and adds a creamy texture.
6. Make fresh ginger, garlic, coriander and chilli paste in mortar pestle for best taste.
7. Cook the onions on a low flame till golden brown. The slow caramelizing brings out the taste better.
Step by Step Recipe of Matar Mushroom –
Give everything a nice mix.
Next add tomato puree and mix well.
Uncover and cook till it starts to leave oil from the sides.
Give it a nice mix.
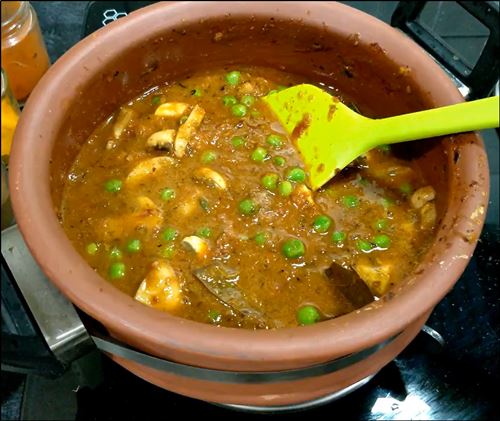
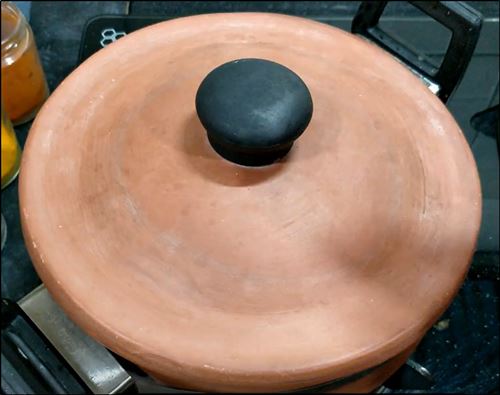
Cover and cook on a low flame for 4-5 min. Stir in between.

How to serve Matar Mushroom Masala –This recipe of Matar Mushroom Masala goes well with roti, paratha or rice.
To make a complete meal for guests, add mushroom ghee roast and hara bhara kebab for the starters. For the main course pair it with tandoori roti, salad, jeera rice and raita.
If you try this recipe, please do let me know in the comment section. I would be happy to receive your feedback on my Social Media
NOTE
• The onion-tomato masala is the key to this recipe, make sure it is well cooked.
• Boil the peas if using fresh ones.
• Do not cut and mushroom beforehand, else it will turn black.
• Adjust the spices as per taste.
Leave a Reply
Your email address will not be published. Required fields are marked *
Beyond Eating
Food for me is love and cooking is my passion. The purpose of this blog is to connect with foodies worldwide and share food stories through means of recipes and reviews.
Follow us on Instagram for quirky insights on my small world that revolves around food :- INSTAGRAM